Jako kontynuację wcześniejszego posta dotyczącego motywu dla przeglądarki chrome, postanowiłem też podzielić się swoimi ustawieniami edytorów tekstu. Praktycznie każdy z nich można dowolnie edytować korzystając z dokumentacji, do czego (mimo czasów AI) serdecznie zachęcam.
Liczę że też Ci się spodobają drogi użytkowniku lub będą stanowić inspirację do stworzenia własnych.
Zacznijmy od standardu w branży - do edycji pojedynczych plików. Co ciekawe edytor bez problemu radzi sobie z plikami powyżej 5 czy 10GB.
SublimeText
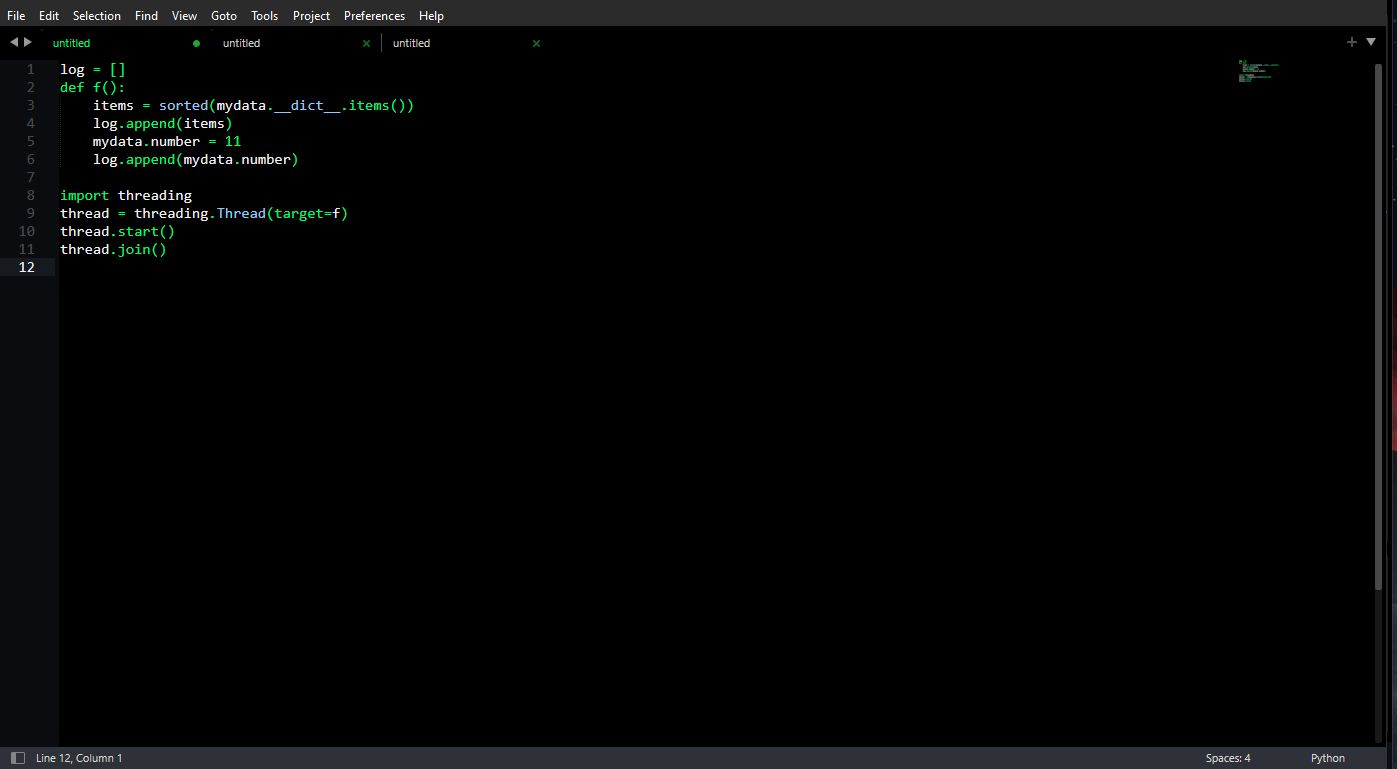
Zacznijmy od instalacji Github Dark Theme i wybraniu go jako temat podstawowy. Po czym trochę go przerobimy. W tym celu klikamy ctrl + shift + p i wybieramy jaką bazę:
- Domyślny motyw graficzny - dla okna

- Github Dark High Contrast - dla edytora

Po czym dostosujemy lekko nasz motyw programu jak i kolorystyki pod siebie. W tym celu klikamy znów ctrl + shift + p, po czym wybieramy poniższą opcję (sam kod wklejamy w oknie po prawej stronie):
- UI: Customize Theme
{
  "extends": "Default.sublime-theme",
  "rules": [
    {
      "class": "tabset_control",
      "layer0.tint": "#000000",
      "layer0.opacity": 1
    },
    {
      "class": "tab_control",
      "layer0.tint": "#000000",
      "layer0.opacity": 1
    },
    {
      "class": "tab_control",
      "attributes": [
        "selected"
      ],
      "layer0.tint": "#101510",
      "layer0.opacity": 1
    },
    {
      "class": "tab_label",
      "fg": "#FFFFFF"
    },
    {
      "class": "tab_label",
      "parents": [
        {
          "class": "tab_control",
          "attributes": [
            "selected"
          ]
        }
      ],
      "fg": "#00FD61"
    }
  ]
}- UI: Customize Color Scheme i wypisujemy tam:
{
  "variables": {
    "green": "#00FD61",
    "black": "#000000",
    "dark_green": "#00B847",
    "gray": "#808080",
    "light_gray": "#B3B3B3",
    "white": "#FFFFFF",
    "comment": "#666666",
    "string": "#00FD61",
    "number": "#00FD61",
    "keyword": "#00FD61",
    "function": "#00FD61",
    "constant": "#00FD61",
    "operator": "#00FD61"
  },
  "globals": {
    "background": "var(black)",
    "foreground": "var(green)",
    "caret": "var(green)",
    "invisibles": "#333333",
    "lineHighlight": "#050505",
    "selection": "#12351F",
    "selectionBorder": "#00FD61",
    "findHighlight": "#00FD61",
    "findHighlightForeground": "#000000",
    "guide": "#222222",
    "activeGuide": "#00FD61",
    "stackGuide": "#222222"
  },
  "rules": [
    {
      "name": "Comment",
      "scope": "comment",
      "foreground": "var(comment)"
    },
    {
      "name": "String",
      "scope": "string",
      "foreground": "var(string)"
    },
    {
      "name": "Number",
      "scope": "constant.numeric",
      "foreground": "var(number)"
    },
    {
      "name": "Keyword",
      "scope": "keyword",
      "foreground": "var(keyword)"
    },
    {
      "name": "Storage",
      "scope": "storage",
      "foreground": "var(green)"
    },
    {
      "name": "Function",
      "scope": "entity.name.function",
      "foreground": "var(function)"
    },
    {
      "name": "Function Call",
      "scope": "variable.function",
      "foreground": "var(function)"
    },
    {
      "name": "Class",
      "scope": "entity.name.type",
      "foreground": "var(green)"
    },
    {
      "name": "Constant",
      "scope": "constant",
      "foreground": "var(constant)"
    },
    {
      "name": "Variable",
      "scope": "variable",
      "foreground": "var(green)"
    },
    {
      "name": "Operator",
      "scope": "keyword.operator",
      "foreground": "var(operator)"
    },
    {
      "name": "Punctuation",
      "scope": "punctuation",
      "foreground": "var(green)"
    },
    {
      "name": "Tag",
      "scope": "entity.name.tag",
      "foreground": "var(green)"
    },
    {
      "name": "Attribute",
      "scope": "entity.other.attribute-name",
      "foreground": "var(green)"
    },
    {
      "name": "CSS Property",
      "scope": "support.type.property-name",
      "foreground": "var(green)"
    },
    {
      "name": "PHP",
      "scope": "support.class.php",
      "foreground": "var(green)"
    },
    {
      "name": "Invalid",
      "scope": "invalid",
      "foreground": "#FF3333"
    },
    {
      "name": "Embedded",
      "scope": "text.html, text.xml, source",
      "foreground": "var(green)"
    }
  ]
}
W przypadku mniejszych projektów nieocenionym jest również:
Visual Studio Code
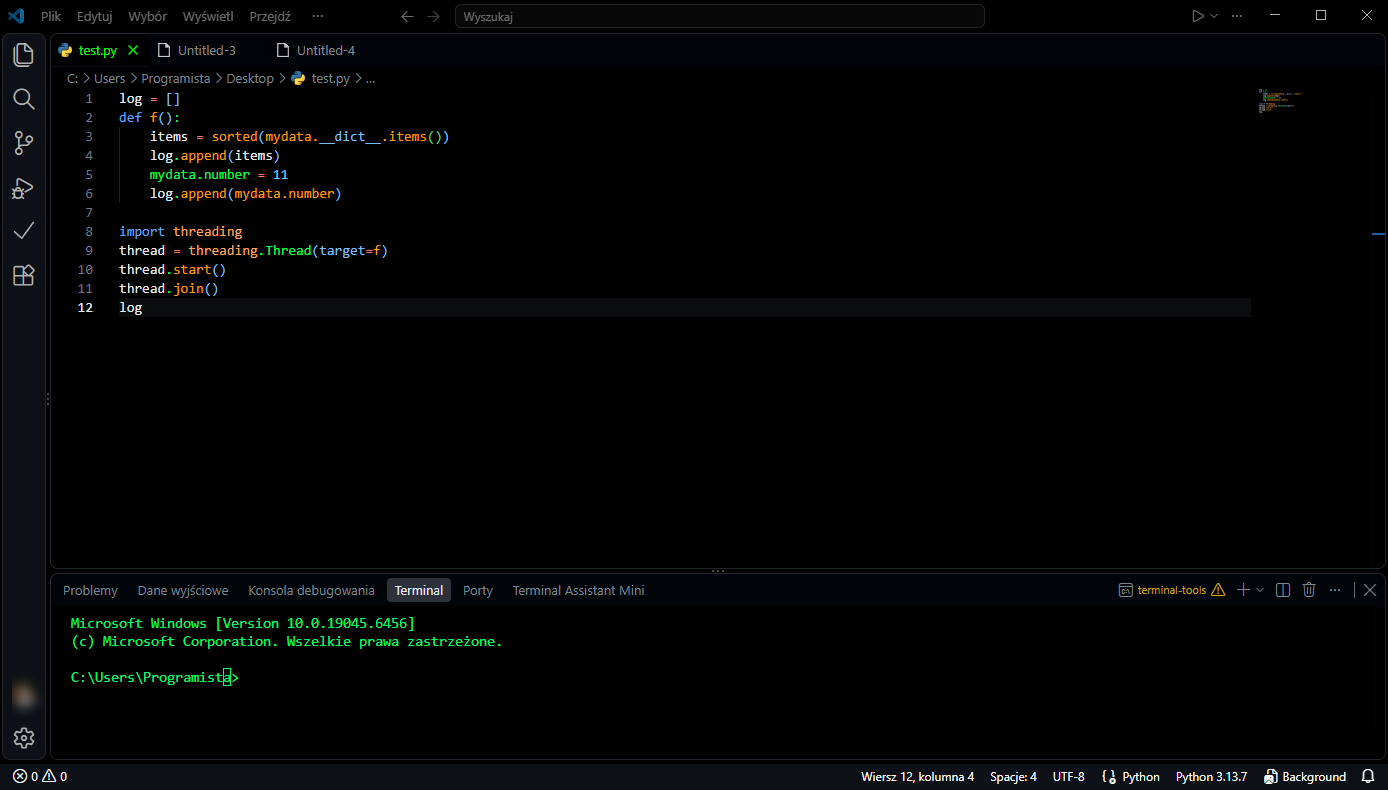
Zaczniemy od instalacji Dark Github Theme i wybraniu go jako podstawowy motyw graficzny.
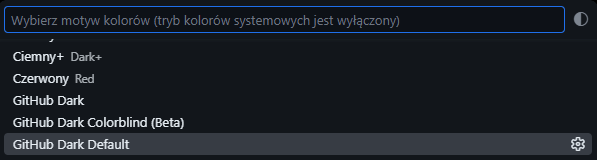
Dostosujemy go teraz lekko pod siebie. W tym celu klikamy ctrl + shift + p, po czym wybieramy "Otwórz ustawienia użytkownika (JSON)" i dodajemy następujące sekcje:
"workbench.colorCustomizations": {
    "tab.activeBorderTop": "#00FD61",
    "tab.border": "#000000",
    "editorGroupHeader.tabsBorder": "#000000",
    "terminal.foreground": "#00FD61",
    "terminal.background": "#000000",
    "editorGroup.border": "#000000",
    "titleBar.activeBackground": "#000000",
    "titleBar.activeForeground": "#00FD61",
    "titleBar.inactiveBackground": "#000000",
    "titleBar.inactiveForeground": "#b3b3b3",
    "activityBar.foreground": "#00FD61",
    "activityBar.inactiveForeground": "#b3b3b3",
    "statusBar.foreground": "#fff",
    "textLink.activeForeground": "#00FD61",
    "editor.foreground": "#00FD61",
    "editor.background": "#000000",
    "tab.activeForeground": "#00ff00",
    "tab.inactiveForeground": "#888888"
},
"editor.tokenColorCustomizations": {
    "variables": "#79c0ff",
    "strings": "#ffffff",
    "types": "#00FF41",
    "numbers": "#79c0ff",
    "keywords": "#58a6ff",
    "functions": "#ff7b72",
    "comments": "#ff7b72",
    "textMateRules": [
      {
        "scope": "meta.function-call",
        "settings": {
          "foreground": "#FF9900"
        }
      },
      {
        "scope": "string.quoted.single.python",
        "settings": {
          "foreground": "#00FF41"
        }
      },
      {
        "scope": "source.python",
        "settings": {
          "foreground": "#00FF41",
        }
      },
      {
        "name": "string",
        "scope": "string",
        "settings": {
          "foreground": "#00FF41",
        }
      },
      {
        "scope": "meta.function-call",
        "settings": {
          "foreground": "#FF9900"
        }
      },
      {
        "name": "entity function name",
        "scope": "entity.name.function",
        "settings": {
          "foreground": "#FF9900"
        }
      }
    ],
},
Z kolei do trzymania snippetów wykorzystuję:
MassCode
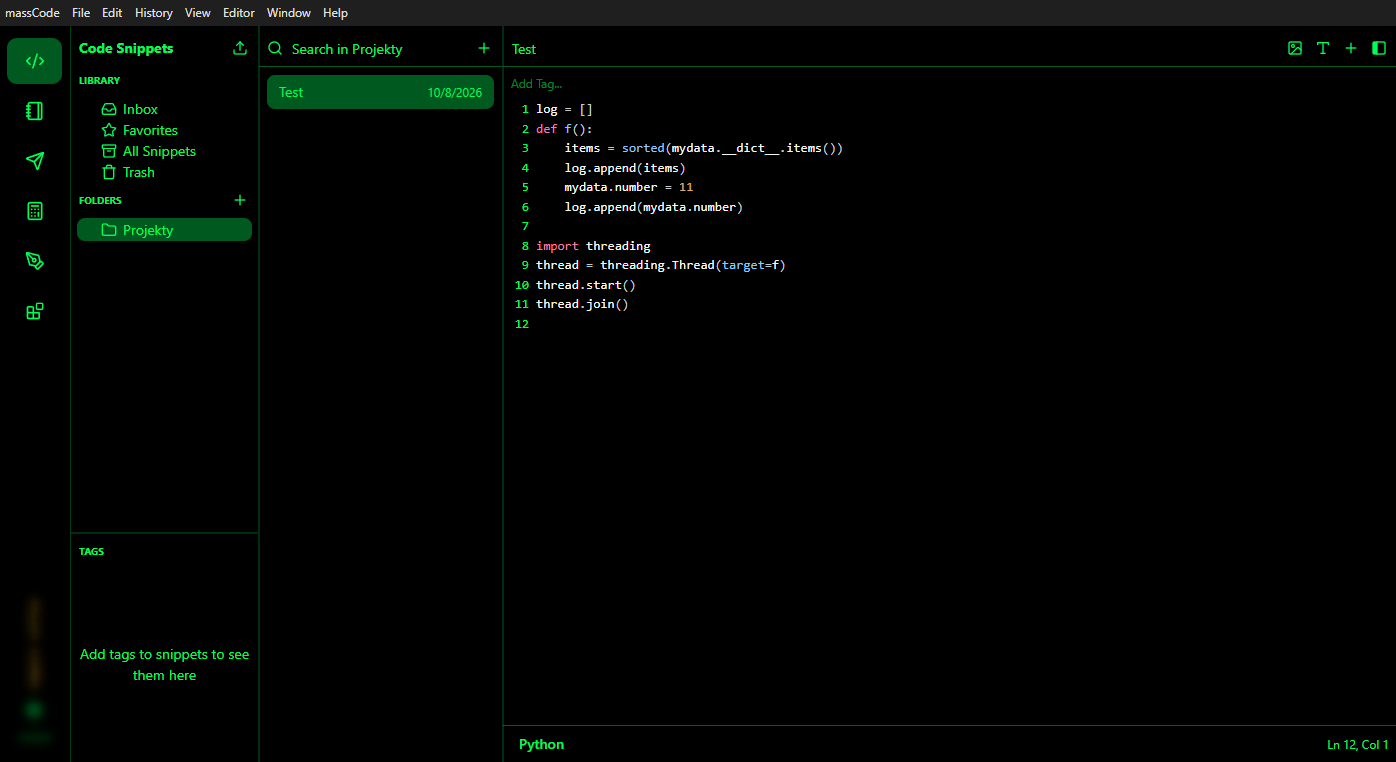
Wymaga on w ustawieniach programu (sekcja "Apperance"), kliknięcia "Create Theme Template" i "Open Themes Directory". Po wpisaniu, do nowo utworzonego pliku poniższego kodu. Będziemy mogli wybrać nasz motyw w tej samej sekcji.
{
  "name": "Minimal for programmers",
  "author": "Kamil",
  "type": "dark",
  "colors": {
    "primary": "hsla(140, 100%, 50%, 0.350)",
    "primary-foreground": "hsla(140, 100%, 50%)",

    "background": "#000000",
    "foreground": "hsla(140, 100%, 50%)",

    "accent": "hsla(140, 100%, 50%, 0.350)",
    "accent-hover": "hsla(140, 100%, 50%, 0.350)",
    "accent-foreground": "hsla(140, 100%, 50%)",

    "muted": "hsla(140, 100%, 50%, 0.250)",
    "muted-foreground": "hsla(140, 100%, 50%)",

    "card": "#000000",
    "popover": "#000000",
    "popover-foreground": "hsla(140, 100%, 50%)",

    "border": "hsla(140, 100%, 50%, 0.350)",
    "scrollbar": "hsla(140, 100%, 50%)"
  },

  "editorColors": {
    "editor-keyword": "hsla(340, 82%, 72%)",
    "editor-comment": "hsla(215, 18%, 60%)",
    "editor-number": "hsla(29, 60%, 65%)",
    "editor-atom": "hsla(189, 75%, 70%)",
    "editor-variable": "hsla(210, 35%, 92%)",
    "editor-def": "hsla(210, 100%, 78%)",
    "editor-string": "hsla(210, 90%, 70%)",
    "editor-property": "hsla(210, 90%, 70%)",
    "editor-tag": "hsla(340, 82%, 72%)",
    "editor-attribute": "hsla(29, 60%, 65%)",
    "editor-operator": "hsla(210, 18%, 80%)",
    "editor-bracket": "hsla(210, 22%, 72%)"
  }
}
Oczywiście polecam każdy z tych motywów dostosować pod siebie. To tylko początek drogi :)


Komentarze